
For some families, half the fun of Halloween is making your unique Halloween costume. It’s a tradition that’s part craft project, part method of ensuring nobody else has the exact same costume as you. Sure, it takes a little bit of extra work, but parents agree it’s worth the time and energy. Plus, taking the time to make the perfect costume will make it more special with a DIY Halloween costume.
“We always made all our own costumes,” says Susan Gross. “I don’t think we even considered store bought, as making our own guaranteed that no one else would look like we did. I did most of the costumes when the kids were small, but they took over when they got older.”
If you’ve never made your own Halloween costume, have no fear. It’s not as difficult as it sounds! Here’s a look at the process so that even the most craft-averse grown-up can help their kids put together a memorable costume.
Start with a Brainstorming Session
Deciding what you want to be takes on a whole new meaning when you’re making your own costume. The options are endless—no longer are you limited by what you see on the rack in the Halloween store. You can be anything.
Whether your kid knows exactly what they want to be, or not, have a brainstorming session together to consider costume ideas and how to make them. Consider fictional characters, pop culture icons, historical figures and so forth. You can even go as an abstract concepts—for example, you could be an avocado with a halo and call yourself holy guacamole.
If you’re lost for ideas, it’s easiest to start by looking at your materials—what craft supplies do you have? What old thrift store finds can you repurpose? Is there an old pillowcase, bedsheet or tablecloth that would lend itself to making something interesting?
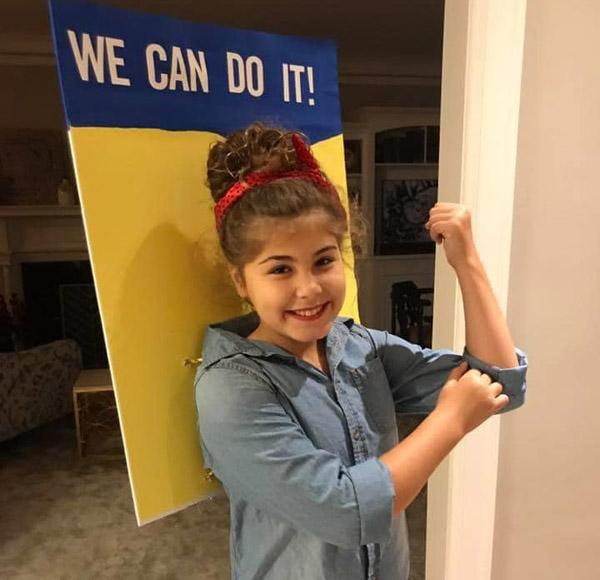
You can always go with a classic Halloween costume and give it your own unique twist, like opting to be a witch or a wizard, a cat or a dog, a ghost or a vampire, but with an added creative element to it. Be a witch with a gauzy tutu and striped leggings instead of a traditional black dress. Be a vampire in rockstar attire instead of Victorian formalwear.
Keep it Simple
Although the elaborate costumes you see on Pinterest might be impressive, they’re difficult to execute. Something basic but effective is always better than stressing out over something out of your league that could potentially end up looking sloppy. Giving yourself at least two weeks (but ideally three to four weeks) will give you plenty of time to come up with something creative without too much rush.
A Cheap Sweatshirt Makes a Great Base
You can pick up inexpensive sweatshirts in a variety of colors and then deck them out with fabric paint, trimmings, and other accessories. But there’s a practical reason that sweatshirts are a great starting point: they’re warm, which makes them perfect for chilly October nights. As Ann Pumphrey reflects, “We were always sad when a great costume was covered by a coat, so we fashioned most of our home costumes with a sweatshirt base, then built from there.”
Working with comfortable street clothes is also much better for young children, who, although adorable when all costumed up, tend to get a little fussy if you put them anything uncomfortable. A sweat suit is much comfier!
Create wings, tails, and other appendages with basic craft items.
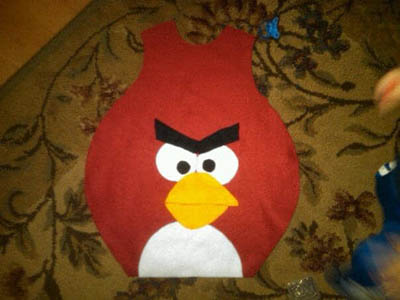
Gather your supplies and start accessorizing that sweatshirt base. Use fabric, duct tape, paper towel rolls, disposable casserole pans—whatever you can find. Felt, fleece and vinyl are inexpensive and available in a variety of solid colors (plus they don’t fray, so there’s no need to hem them).
Moms agree that you don’t have to be a master seamstress. Ashley Earle recommends using adhesive spray to put together felt and fleece, and Jessica Farrar praises hot glue as perfect for single-use creativity because it’s “not very durable, but magic and easy!”
Katie Ripley has recycled the same simple wings pattern using felt to create a devil, two different birds and even a dragon. “I love making costumes because that’s what my mom did,” she says.
If you need to add structure or volume to an appendage you’ve glued together, stuff it with cotton batting available at the craft store. Crumpled up newspaper or brown paper shopping bags will add a little bit more weight if you need it.
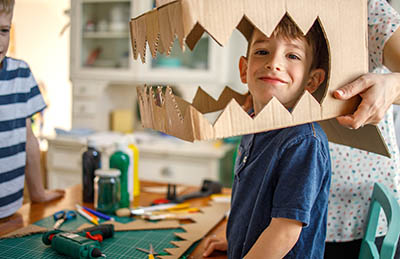
DIY Paper Mâché
This is an old-school method that never goes out of style. Papier-mâché takes some time and creates a little bit of mess, but the results are always impressive.
- Large Balloon
- Large Bowl
- Flour
- Hot Tap Water
- Newspaper (enough to layer over the large balloon several times)
- Prep a large balloon
Start with a large balloon that’s just a bit bigger than your child’s head. Ideally, it should be made of heavy-duty rubber, as it’s going to need to stay inflated for a few days.
- Create Paper Mache Paste
Create a mixture of equal parts flour and water in a large bowl. It should be the consistency of glue.
- Prep & add newspaper
Tear pieces of newspaper into long strips and lather them in the mixture, then lay them across the surface of the balloon.
- Allow to dry & apply second layer
Allow the papier-mâché to dry overnight and apply a second layer in the morning. Depending on the desired durability, you may wish to wait one more day to apply a third layer.
- Remove the balloon carefully
When your final layer is dry and firm, apply a small puncture to the balloon close to the knot so that air leaks out slowly (a sudden pop could break the papier-mâché).
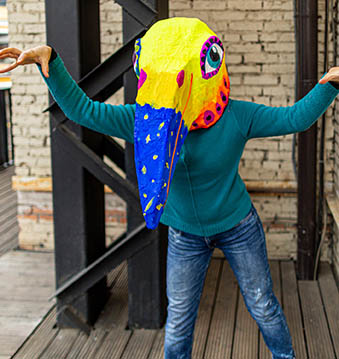
- Finalize the mask
Use a knife to cut eye holes. Then paint and decorate the mask to your liking.
Use Face Paint and Makeup for Finishing Touches
If you want to avoid the mask route, you can finish off your costume with face paint or makeup. You don’t have to do a full-face design; it’s enough to do simple details like whiskers with an eyeliner pencil or rosy circles on your cheeks with a dab of red lipstick.
One last piece of advice—stay focused on the effect rather than durability. As Gross puts it, “Remember, it only has to last one night.”